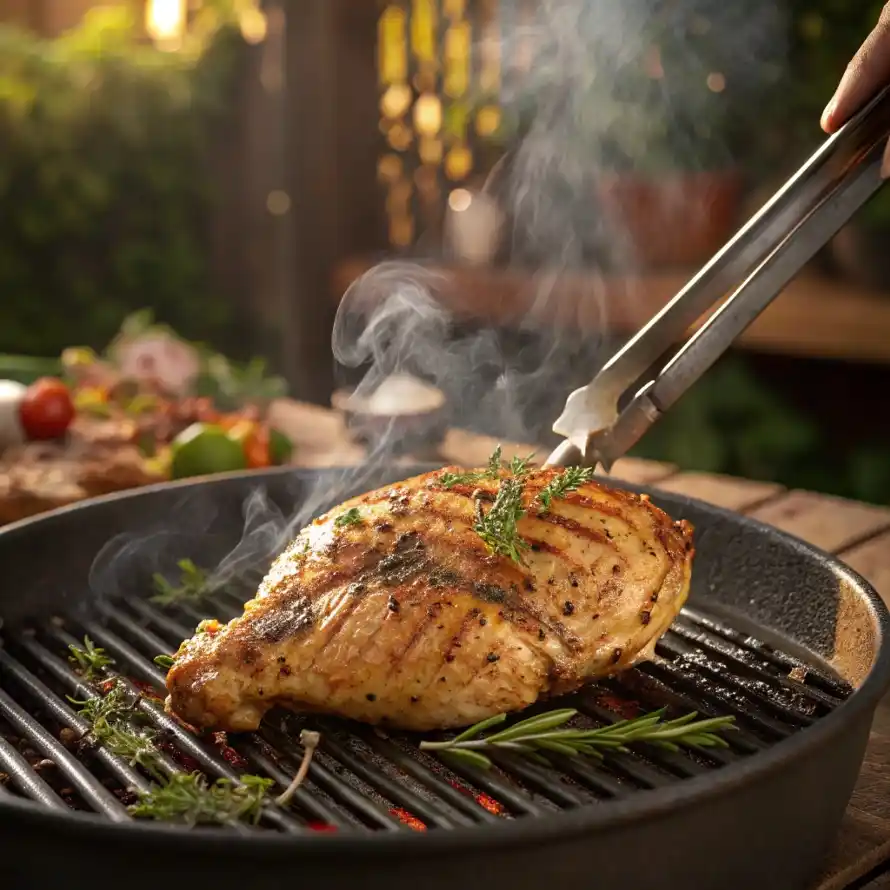
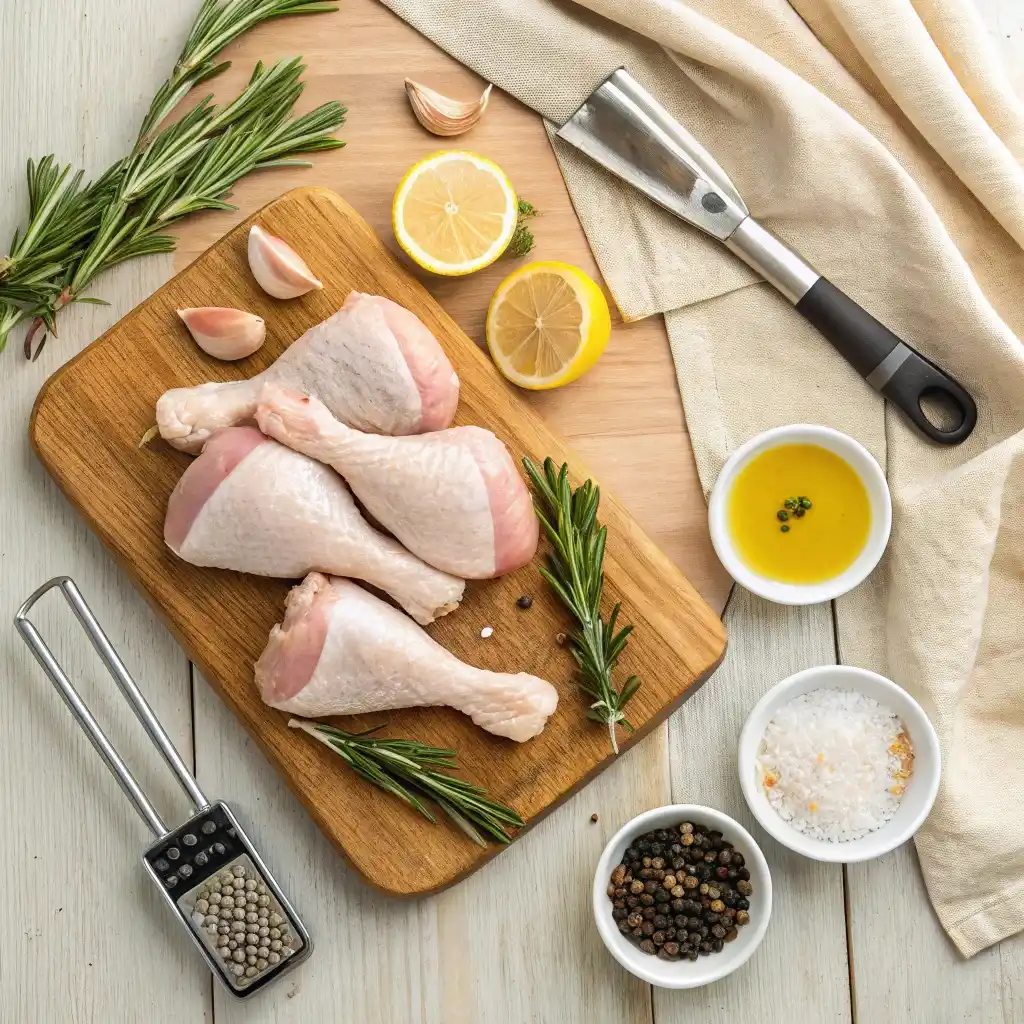
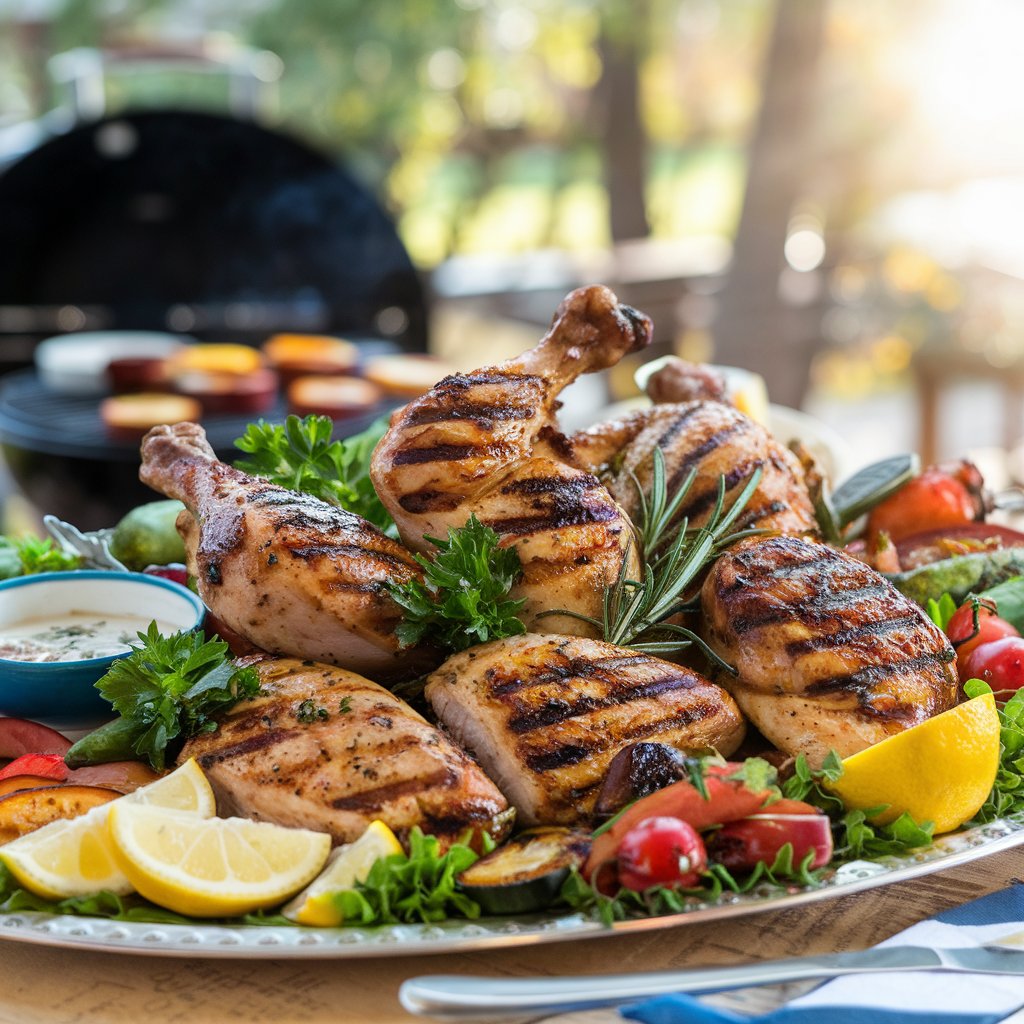
Grilling chicken to tender, juicy perfection is an art that combines time, temperature, and preparation. Whether making boneless breasts, chicken thighs, or drumsticks, understanding the nuances of grilling time is the secret to culinary success. This guide will teach you everything you need to know to master the perfect grilled chicken. Let’s fire up the grill! 🔥🍗
Introduction to Grilling Chicken
Grilling chicken is more than just cooking-it balances science and flavor. Perfectly grilled chicken isn’t just tender; it’s juicy, flavorful, and leaves you craving the next bite.
Why Grilling Time Matters for Tenderness
Grilling chicken to the correct temperature ensures it’s both safe and delicious.
- Overcooking: Dries out the meat, making it tough.
- Undercooking: Leaves the chicken unsafe to eat.
- The Sweet Spot: Cooking to 165°F guarantees both safety and tenderness.
“Think of grilling chicken like timing a race—too fast, and you’ll miss the mark; too slow, and you’re out of the running.”
Balancing Flavor, Texture, and Doneness
Tender grilled chicken isn’t just about hitting the right temperature—it’s about combining flavor, texture, and proper doneness.
- Flavor: Marinate or season the chicken to enhance its taste.
- Texture: Rest the chicken after grilling to retain moisture.
- Doneness: Use a meat thermometer for precision.
“Great grilled chicken doesn’t just happen—it’s a delicious balance of preparation and patience.”

Key Factors Affecting Grilling Time
Several factors influence how long chicken needs to be grilled. Each aspect, from the size of the cut to the type of grill, plays a role in achieving the perfect bite.
Thickness and Size of Chicken Cuts
The size and thickness of the chicken significantly impact grilling time.
- Thicker Cuts: Take longer to cook but retain more moisture.
- Thinner Cuts: Cook quickly but risk drying out.
| Chicken Cut | Average Thickness | Grilling Time |
|---|---|---|
| Boneless Breast | ~1 inch | 6–8 minutes per side |
| Bone-In Thigh | ~1.5 inches | 10–12 minutes per side |
| Drumsticks | ~2 inches | 20–25 minutes total |
| Wings | ~2 inches | 15–20 minutes total |
“For even cooking, pound boneless breasts to uniform thickness before grilling.”
Bone-In vs. Boneless Chicken
Bone-in chicken takes longer to cook due to the heat-conduction properties of the bone.
- Bone-in adds flavor and keeps the meat moist. It is grilled for 5–10 minutes longer than boneless cuts.
- Boneless: Cooks faster, making it ideal for quick meals.
Grill Temperature and Heat Source
The grill’s heat level directly affects cooking time and results.
- Medium Heat (~375–450°F): Perfect for most chicken cuts, ensuring even cooking.
- High Heat: Creates a quick sear but risks burning the exterior before the interior is done.
- Indirect Heat: Best for larger cuts like whole chickens, allowing them to cook through without charring.
“Medium heat is your best friend for grilling chicken—it’s like a warm hug that cooks evenly without overwhelming the meat.”
Stay tuned for the next sections, where we’ll explore specific grilling times for different cuts, essential techniques, and how to troubleshoot common grilling issues! 🌟🍗
Perfect Grilled Chicken: Cooking Times for Every Cut
Grilling chicken to perfection requires precise timing for each cut. Whether preparing boneless breasts or a whole chicken, understanding the ideal cooking time is key to achieving juicy, flavorful results.

How to Grill Boneless Chicken Breasts Perfectly
Boneless chicken breasts are lean and quick to cook but can dry out easily.
- Grilling Time: Grill over medium heat for 6–8 minutes per side.
- Tip: Pound the breasts to an even thickness for consistent cooking, and use a marinade to retain moisture.
Perfectly Grilled Bone-In Chicken Thighs
Bone-in thighs are rich in flavor and forgiving due to their higher fat content.
- Grilling Time: Cook for 10–12 minutes per side over medium heat, using indirect heat to avoid flare-ups.
- Tip: Baste with a sauce in the last 5 minutes for extra flavor.
Perfect Grilled Chicken Drumsticks and Wings
Drumsticks and wings are crowd-pleasers that need careful attention to avoid burning.
- Drumsticks: Grill for 20–25 minutes, turning every 5–7 minutes.
- Wings: Cook for 15–20 minutes, flipping frequently to ensure crispy skin.
Grilling Whole Chicken or Spatchcocked Chicken
Grilling a whole chicken evenly can be tricky, but spatchcocking simplifies the process.
- Grilling Time: Grill over indirect heat for 45–60 minutes, flipping occasionally.
- Tip: Use a meat thermometer to check the thickest part of the breast or thigh for doneness.
Internal Temperature for Perfectly Grilled Chicken
Cooking chicken to the right internal temperature ensures safety without sacrificing tenderness.
Safe Internal Temperature for Chicken
The USDA recommends cooking chicken to an internal temperature of 165°F for safe consumption. For dark meat like thighs and drumsticks, cooking to 175°F can enhance tenderness.
Using a Meat Thermometer for Accuracy
A meat thermometer is essential for precision.
- How to Use: Insert the probe into the thickest part of the meat without touching the bone.
- Tip: Check multiple spots to ensure even cooking.
Avoiding Overcooking While Ensuring Safety
Overcooking can lead to dry, tough chicken.
- Tip: Remove chicken from the grill when it reaches the target temperature; carryover cooking will finish the job.
“Perfect grilled chicken combines safety and tenderness—use timing and temperature as your secret weapons!” 🌟🍗
Preparation Tips for Perfect Grilled Chicken
Proper preparation is the foundation of tender, juicy grilled chicken. Techniques like marinating, bringing, and resting are essential for enhancing texture and flavor, ensuring a perfect bite every time.
Marinating Tips for Perfect Grilled Chicken Tenderness
Marinating goes beyond simply adding flavor—it tenderizes the meat as well. Marinades help break down proteins to achieve a softer texture by incorporating acidic ingredients like lemon juice or vinegar. Additionally, combining fats like olive oil with herbs and spices creates a rich, flavorful coating. For the best results, allow the chicken to marinate for at least 30 minutes, but avoid exceeding 12 hours for cuts like boneless breasts.
“Think of marinating as giving your chicken a flavor-packed spa treatment—it soaks up all the goodness!”
Brining: The Secret to Juicy Chicken
Brining involves soaking chicken in a saltwater solution, enhancing its ability to retain moisture.
- How It Helps: Salt alters the protein structure, trapping water inside the meat.
- Basic Brine Recipe: Use ¼ cup salt per quart of water. Add sugar, herbs, or spices for additional flavor.
- Timing: Brine for 1–6 hours depending on the cut. Rinse the chicken before grilling to avoid excessive saltiness.
Resting Chicken for Perfect Grilling Results
Allowing chicken to rest at room temperature before grilling promotes even cooking.
- Why It’s Important: Cold chicken cooks unevenly, leading to dry exteriors and undercooked centers.
- Tip: Rest the chicken for 15–20 minutes before placing it on the grill.
Common Problems When Grilling Chicken
Even experienced grillers can encounter issues. Here’s how to solve the most common problems.
Dry or Overcooked Chicken
Dry chicken occurs when it’s cooked too long or at too high a temperature.
- Solution: Use medium heat and monitor with a meat thermometer. Remove the chicken as soon as it reaches 165°F.
- Tip: Marinating or brining beforehand helps retain moisture.
Uneven Cooking Across the Meat
Hot spots on the grill or uneven cuts can result in some parts being overcooked while others are underdone.
- Solution: Pound boneless breasts to an even thickness and use indirect heat for thicker cuts like drumsticks. Rotate the chicken frequently for even cooking.
Burning or Sticking to the Grill
Burning occurs when the grill is too hot, while sticking happens when the grates aren’t prepared.
- Solution: Preheat and oil the grill grates before adding chicken. Flip chicken carefully using tongs to prevent tearing the skin.
- Tip: Avoid sugary marinades until the last 5 minutes to prevent burning.
“Great grilling isn’t about avoiding mistakes—it’s about knowing how to fix them on the fly!” 🔥🍗
Solutions for Tender and Juicy Grilled Chicken
Grilling chicken that is both tender and juicy requires careful attention to heat, timing, and moisture retention. By mastering these techniques, you’ll elevate your grilling game and impress every guest.
Managing Grill Heat and Cooking Zones
Using the right heat settings and creating cooking zones on your grill is key to perfectly cooked chicken.
- How to Do It: Set up two zones—direct heat for searing and indirect heat for slower cooking.
- Why It Works: Direct heat locks in flavor with a quick sear, while indirect heat ensures the chicken cooks evenly without burning.
Timing and Flipping Techniques
Proper timing and flipping can make or break your grilled chicken.
- Tip: Flip chicken only once to retain juices and create grill marks.
- Timing: Use a meat thermometer to check for doneness instead of guessing. Over-flipping can dry out the meat.
“Let your chicken sit on the grill like a sunbather—flip it just once for that perfect golden tan!”
Using Basting or Spritzing for Added Moisture
Basting or spritzing helps keep chicken moist during grilling.
- How to Baste: Apply melted butter, oil, or a thin sauce every 5 minutes for cuts like thighs or drumsticks.
- Spritzing Alternative: Use a spray bottle filled with broth, apple juice, or water to maintain moisture without adding calories.
Tips for Grilling Chicken Like a Pro
From heat management to achieving restaurant-quality presentation, these tips will make you a grill master.
Direct vs. Indirect Heat Grilling Methods
Knowing when to use direct or indirect heat is essential.
- Direct Heat: Ideal for small, thin cuts like boneless breasts or wings; creates a quick sear.
- Indirect Heat: Best for bone-in pieces or whole chickens; ensures even cooking without burning.
Achieving Grill Marks Without Overcooking
Grill marks not only look professional but also add flavor.
- Tip: Place chicken at a 45-degree angle on the grates, press lightly, and rotate 90 degrees halfway through cooking.
Maintaining Consistent Temperature During Grilling
A consistent grill temperature prevents uneven cooking.
- Tip: Monitor your grill’s temperature using a built-in gauge or an external thermometer. Adjust vents for charcoal grills or knobs for gas grills to maintain steady heat.
“Consistency is the secret ingredient for grilling chicken that’s tender, juicy, and full of flavor!” 🌟🍗
Post-Grilling Practices for Tenderness
Once you’ve grilled your chicken to perfection, the next steps are crucial for keeping the meat tender, juicy, and full of flavor. Post-grilling practices, like resting the meat, slicing it properly, and adding the final seasoning or sauces, are key to achieving the best results.
Resting Chicken After Grilling
Resting chicken after grilling is an essential step that helps lock in all those flavorful juices. When chicken is grilled, the juices get pushed toward the center of the meat by the heat. Resting allows these juices to redistribute evenly throughout the chicken, making it more tender and juicy.
- How Long to Rest: Let the chicken rest for 5–10 minutes for smaller cuts like breasts or wings and 10–15 minutes for larger cuts like thighs or whole chickens.
- Why It Matters: Cutting into the chicken too soon causes the juices to run out, resulting in dry meat. The resting time ensures maximum moisture retention.
“Think of resting as letting the chicken catch its breath—it allows the flavors to settle and develop to their full potential!”
Slicing Chicken Properly for Serving
Once the chicken has rested, it’s important to slice it correctly to maintain its tenderness and texture.
- Tip: Always slice against the grain of the meat. This breaks up the muscle fibers and results in more tender slices.
- For Boneless Breasts: Slice into thin strips for an easy bite.
- For Bone-In Cuts: Remove the meat from the bone carefully to ensure the juiciest pieces are served.
“Slicing against the grain is like cutting along the lines of a fabric—it ensures a smoother, more tender texture.”
Adding Final Seasoning or Sauces
After resting and slicing your chicken, it’s time to add the finishing touches.
- Final Seasoning: A pinch of salt, a sprinkle of fresh herbs, or a dash of pepper can make a world of difference.
- Sauces: Adding a flavorful sauce at the end, like BBQ sauce, teriyaki glaze, or a simple lemon dressing, can elevate your chicken to the next level.
- Tip: Add sauces in the last few minutes of grilling to avoid burning, or use them as a fresh topping after resting for extra flavor.
Recipes and Cooking Times for Perfect Grilled Chicken
Now that we know the best grilling techniques and post-grilling tips, let’s dive into some popular grilled chicken recipes with their ideal cooking times. These recipes are simple, flavorful, and easy to prepare for any occasion.
Lemon Herb Recipe for Perfect Grilled Chicken Breasts
A classic and refreshing grilled chicken recipe, perfect for a light meal or pairing with salads.
- Seasoning: Marinate chicken breasts in olive oil, lemon juice, garlic, rosemary, and thyme.
- Cooking Time: Grill for 6–8 minutes per side over medium heat. Ensure the internal temperature reaches 165°F.
- Pairing: Serve with a fresh garden salad or grilled vegetables.
BBQ Recipe for Perfect Grilled Chicken Drumsticks
BBQ chicken drumsticks are a favorite for outdoor BBQs and gatherings.
- Seasoning: Coat the drumsticks in BBQ rub or marinate in your favorite BBQ sauce.
- Cooking Time: Grill for 20–25 minutes, turning frequently. Baste with more sauce in the last 5 minutes for a sticky finish.
- Pairing: Serve with classic sides like coleslaw, corn on the cob, and baked beans.
Spiced Chicken Thigh Recipe for Perfect Grilled Chicken
Spiced chicken thighs paired with vegetables are a winner for a flavorful, hearty dish.
- Seasoning: Rub chicken thighs with a spice mix of paprika, cumin, garlic powder, and chili flakes.
- Cooking Time: Grill bone-in thighs for 10–12 minutes per side over medium heat, using indirect heat.
- Pairing: Serve with roasted potatoes, grilled peppers, and onions.
Conclusion: The Key to Perfectly Grilled Chicken Every Time
Grilling chicken to perfection combines the right technique, timing, and post-grilling practices. From marinating and brining to ensuring the right grilling time and temperature, each step plays a role in achieving tender, juicy chicken. Following these tips and recipes, you can enjoy perfectly grilled chicken every time, no matter the cut or occasion. Keep experimenting, and soon, you’ll be the grilling pro everyone asks for! 🍗🔥
“The key to great grilled chicken is patience and precision—get it right, and your taste buds will thank you!”
You May also be Interested in:
What Vegetables Pair Best with Grilled Chicken? A Complete Guide

